


Why Choose a Side Tipper Truck for Your Business?
Choosing the right hauling equipment can shape project margins, delivery speed, and daily safety. A Side Tipper Truck deserves attention because it unloads material quickly beside the vehicle, reducing unnecessary reversing and positioning.
Market reports show strong demand, but their figures are not identical. Grand View Research estimates the global dump truck market reached approximately USD 55.1 billion in 2023. It also projects a 7.4% compound annual growth rate from 2024 to 2030. IMARC Group reports a different market value and forecast. These differences reflect varying definitions, regions, and vehicle categories. That matters.
A Side Tipper Truck can be useful on road construction, quarry, mining, and bulk-material projects. Picture a truck beside a narrow work zone, tipping aggregate without turning across active traffic. The practical gain may be measured in minutes. Over hundreds of cycles, minutes become operating capacity.
Chris Sleight, managing director of Off-Highway Research, has emphasized a simple industry reality: “Construction equipment demand is strongly influenced by infrastructure investment.” His point applies directly here. Buying decisions should match local workloads, material density, road conditions, and maintenance support.
The choice is not automatically correct.
Operators should compare payload, hydraulic performance, body durability, fuel consumption, tyre costs, and cycle times. Real operating records are more persuasive than attractive brochures. A lower purchase price may hide higher downtime. Conversely, advanced equipment may not justify its cost on irregular projects. Careful evaluation remains essential.
What Is a Side Tipper Truck and How Does It Work?
Why Choose a Side Tipper Truck for Your Business?
What Is a Side Tipper Truck and How Does It Work?
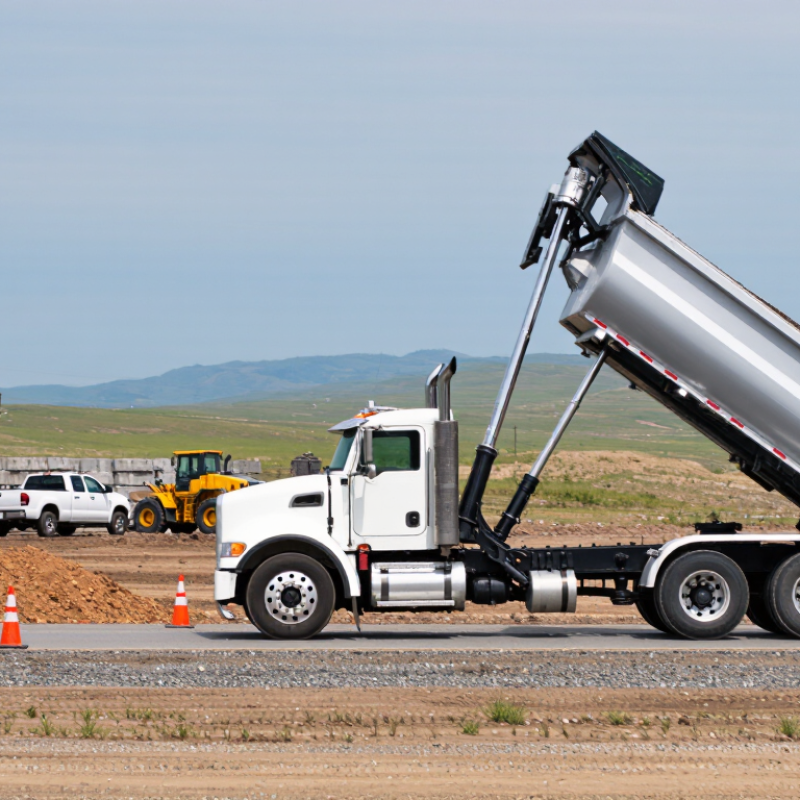
A side tipper truck carries loose materials and unloads them through a lateral tipping movement. Unlike a rear tipper, it raises the cargo body sideways. A hydraulic cylinder, powered through the truck’s hydraulic system, pushes the body upward. Hinges on one side guide the movement. Gravity then helps sand, gravel, soil, or agricultural materials slide out. The driver controls the lifting sequence from the cab. The body returns to its frame after unloading.
This design can work well where rear space is limited. It may unload beside a road, loading bay, or narrow work area. In daily operations, stable ground matters greatly. An uneven surface can shift the center of gravity during tipping. Load weight must also stay within the vehicle’s rated capacity. Overloading is not just inefficient. It can strain the hydraulic system, tires, frame, and brakes. The system sounds simple, but small mistakes can become expensive.
Tips: Inspect hydraulic hoses, hinges, and locking points before each shift. Keep the load balanced and avoid sudden steering while the body is raised. Check the site for overhead cables, soft ground, and nearby workers. Operators should follow practical training and the vehicle manufacturer’s instructions. A short unloading cycle saves time, but rushing inspections is a poor trade. Even experienced drivers can miss a damaged fitting on a dusty morning.
